Glenohumeral Joint Model
In our attempt to design a new spreading device to make space in the glenohumeral joint during total shoulder surgery, we were having a lot of trouble validating our prototypes, and visualizing the planes of motion and angles of attack we needed without having a proper model of the joint. With the cost of an actual model being out of our budget, we decided to make one.
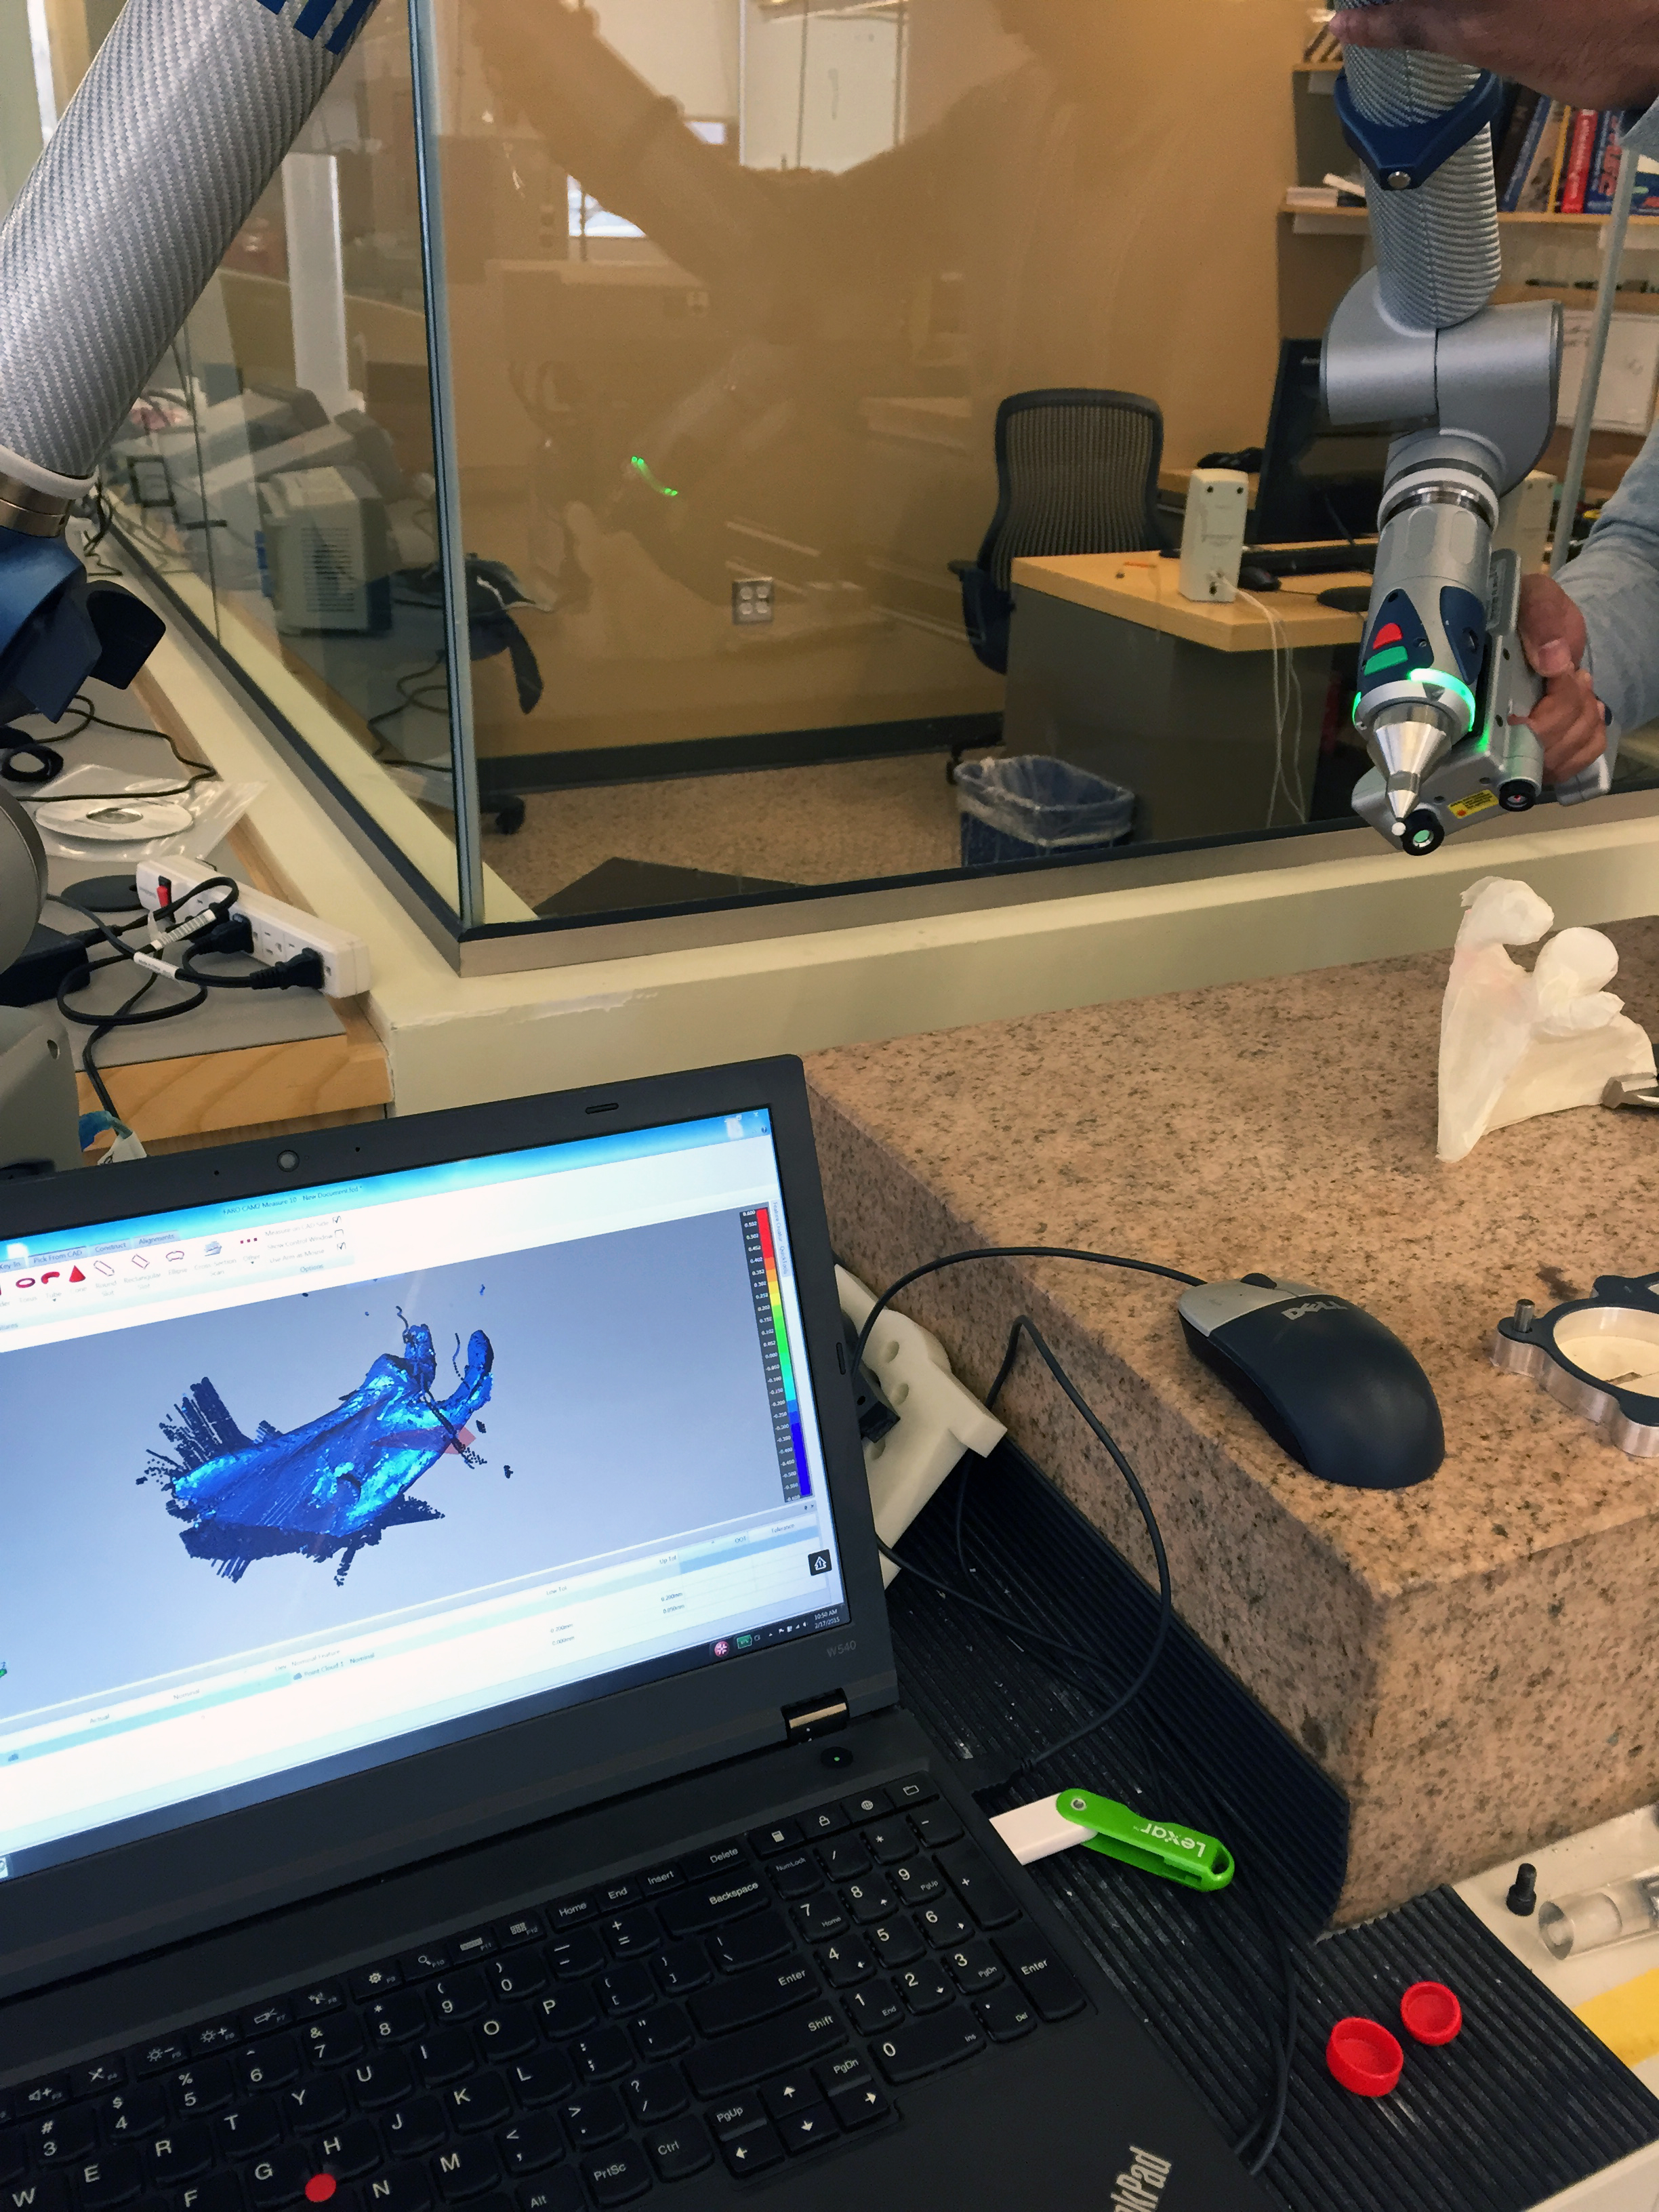
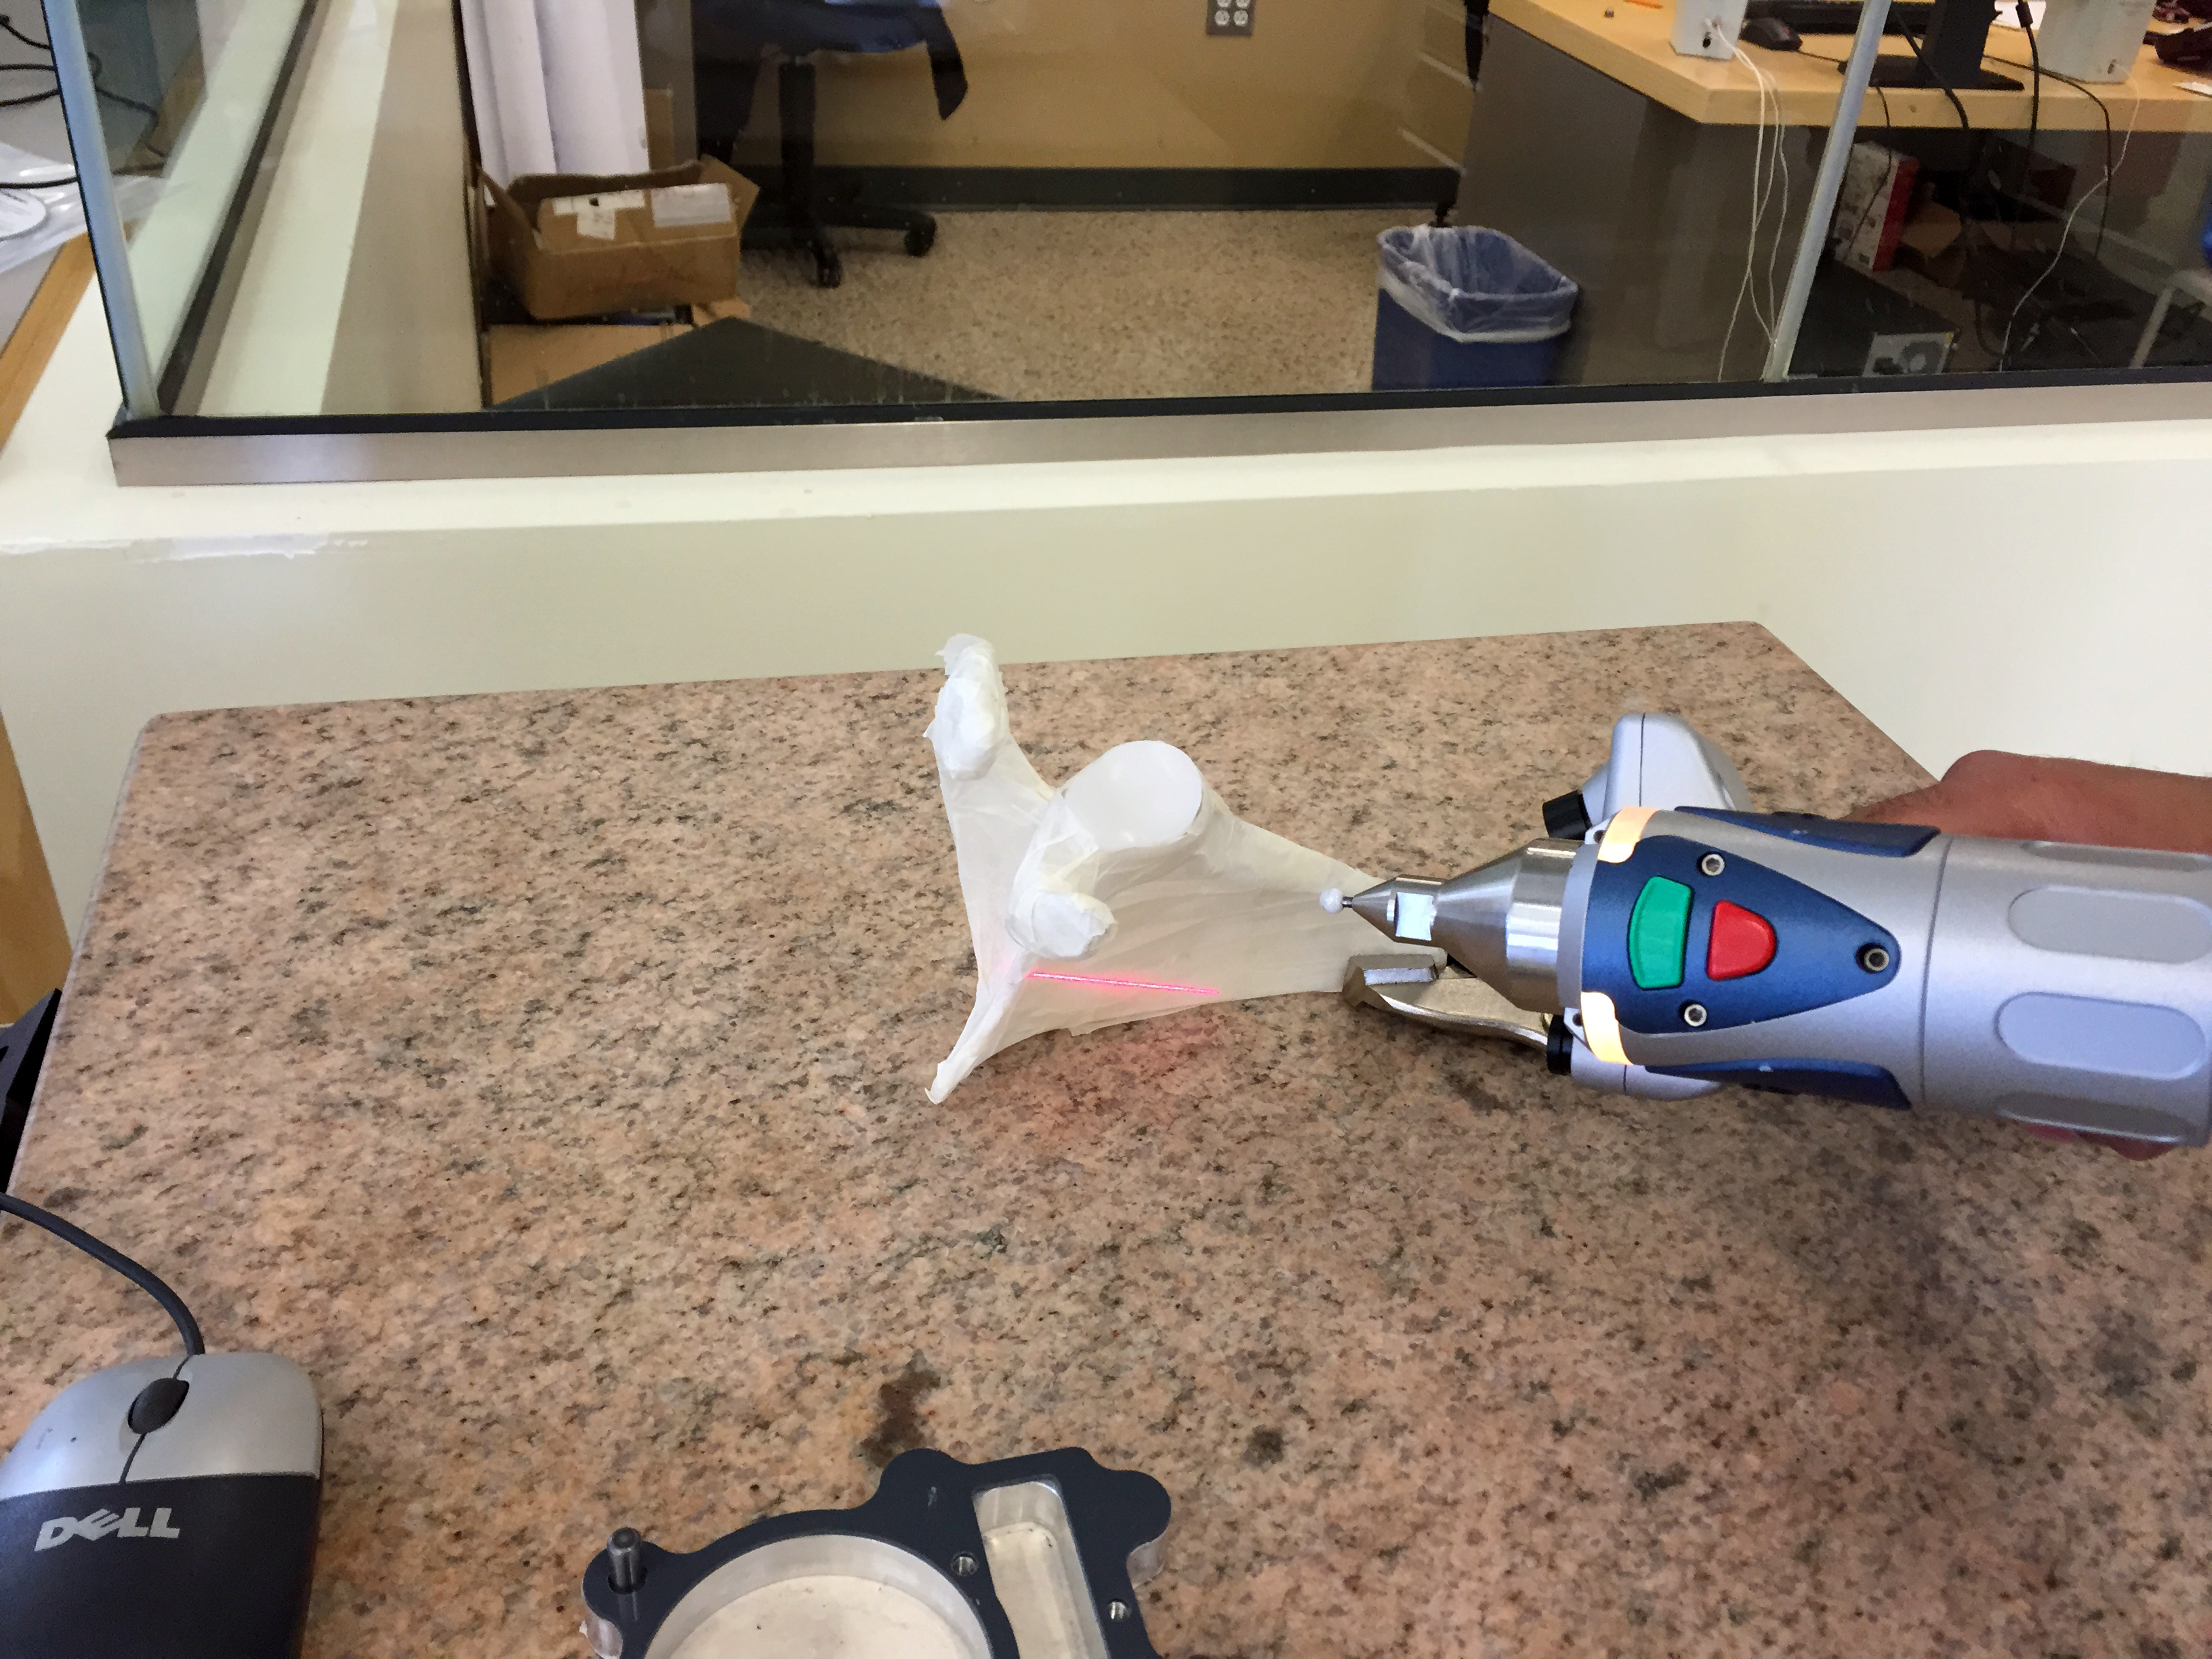
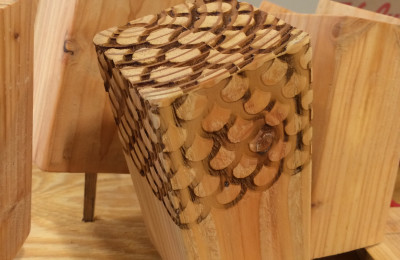
It was hard to locate decent CAD files online so we borrowed a bone model form our clinical advisor. We wrapped it with masking tape, since it was clear, and used a Farro laser scanner to create a point cloud. Using Geomagic, we converted the point cloud into STL (sterolithography file) so we could use it in CAD programs and 3D printers. After printing, we cut off the humerus head to match the resected head at that stage in the surgery.
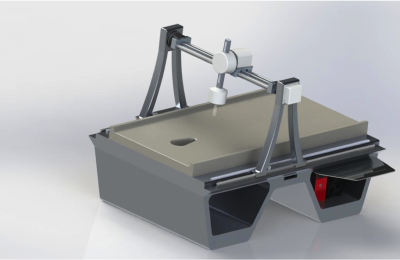
Next, we needed to place the bones in a medium that held their relation to each other but had some flex to mimic the musculature around the joint. Originally I was thinking of using a ballistic gel that mimics tissue (commonly seen in MythBusters) although it was pricey and would have taken us a while to order. Homemade versions using gelatin are available but would not be stable at room temperature. I then tried to use sprayable window installation foam hoping it would remain soft when dry. It didn’t. Next I thought something similar to memory foam could work well.
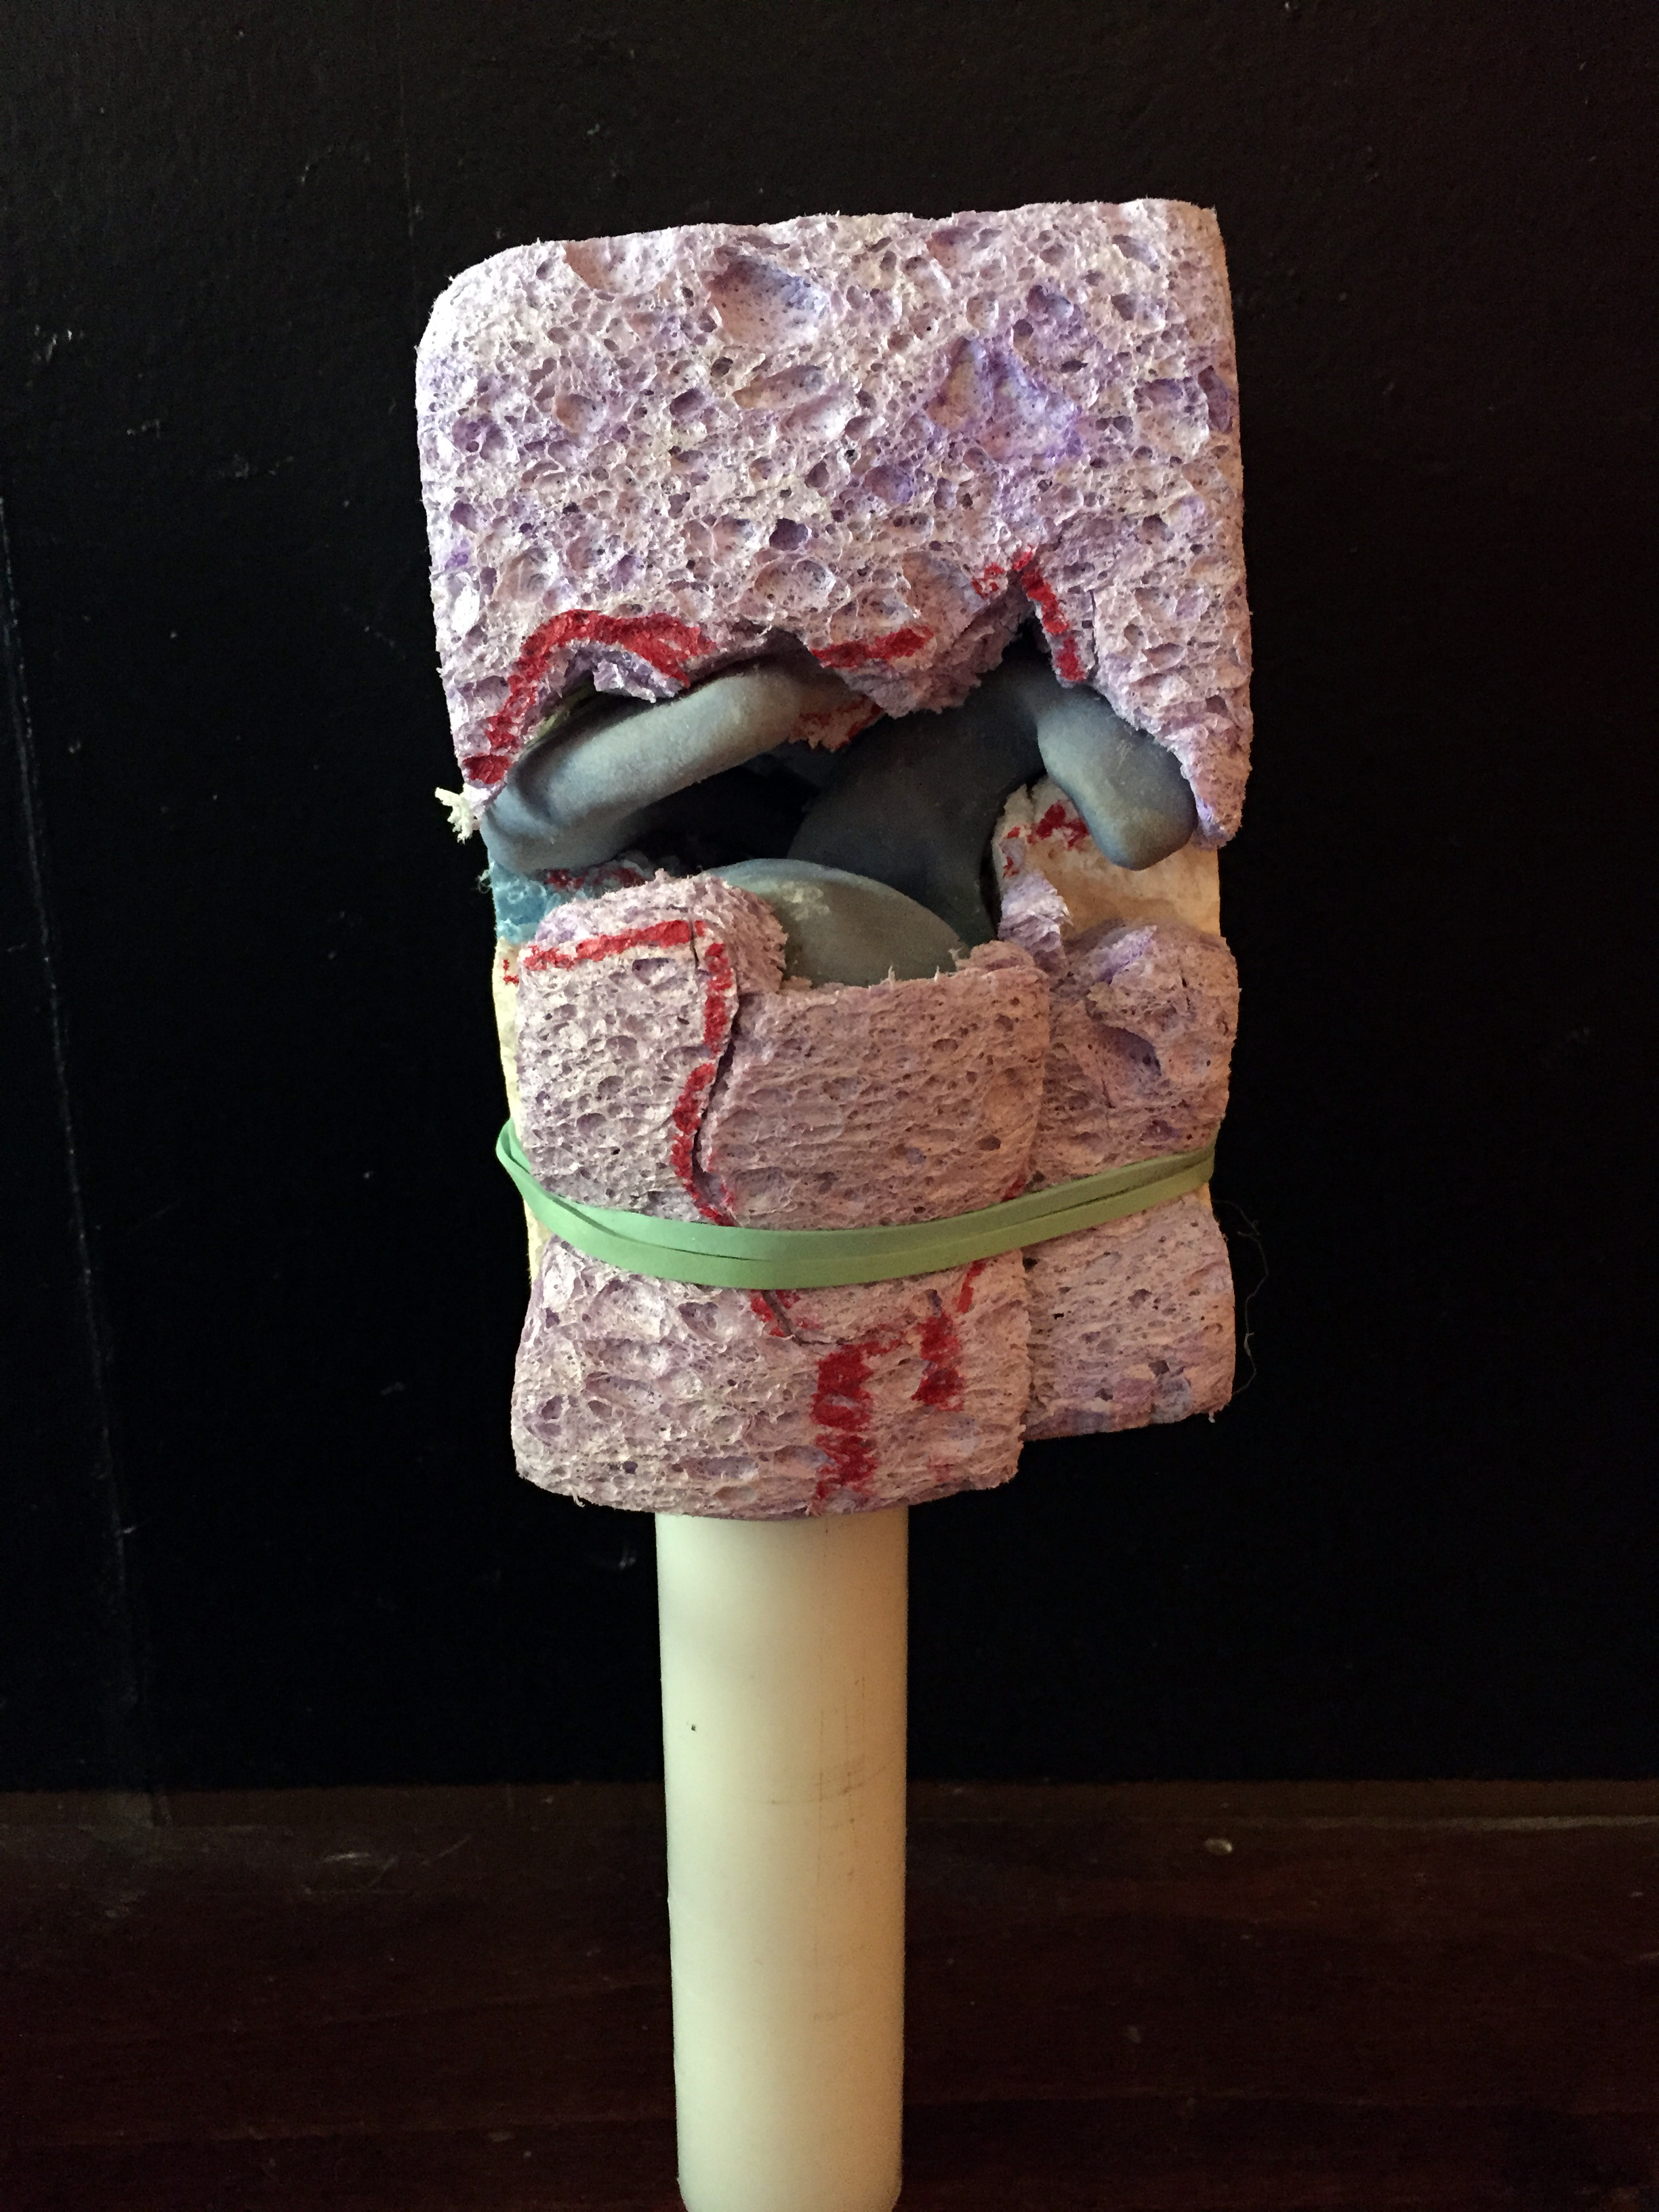
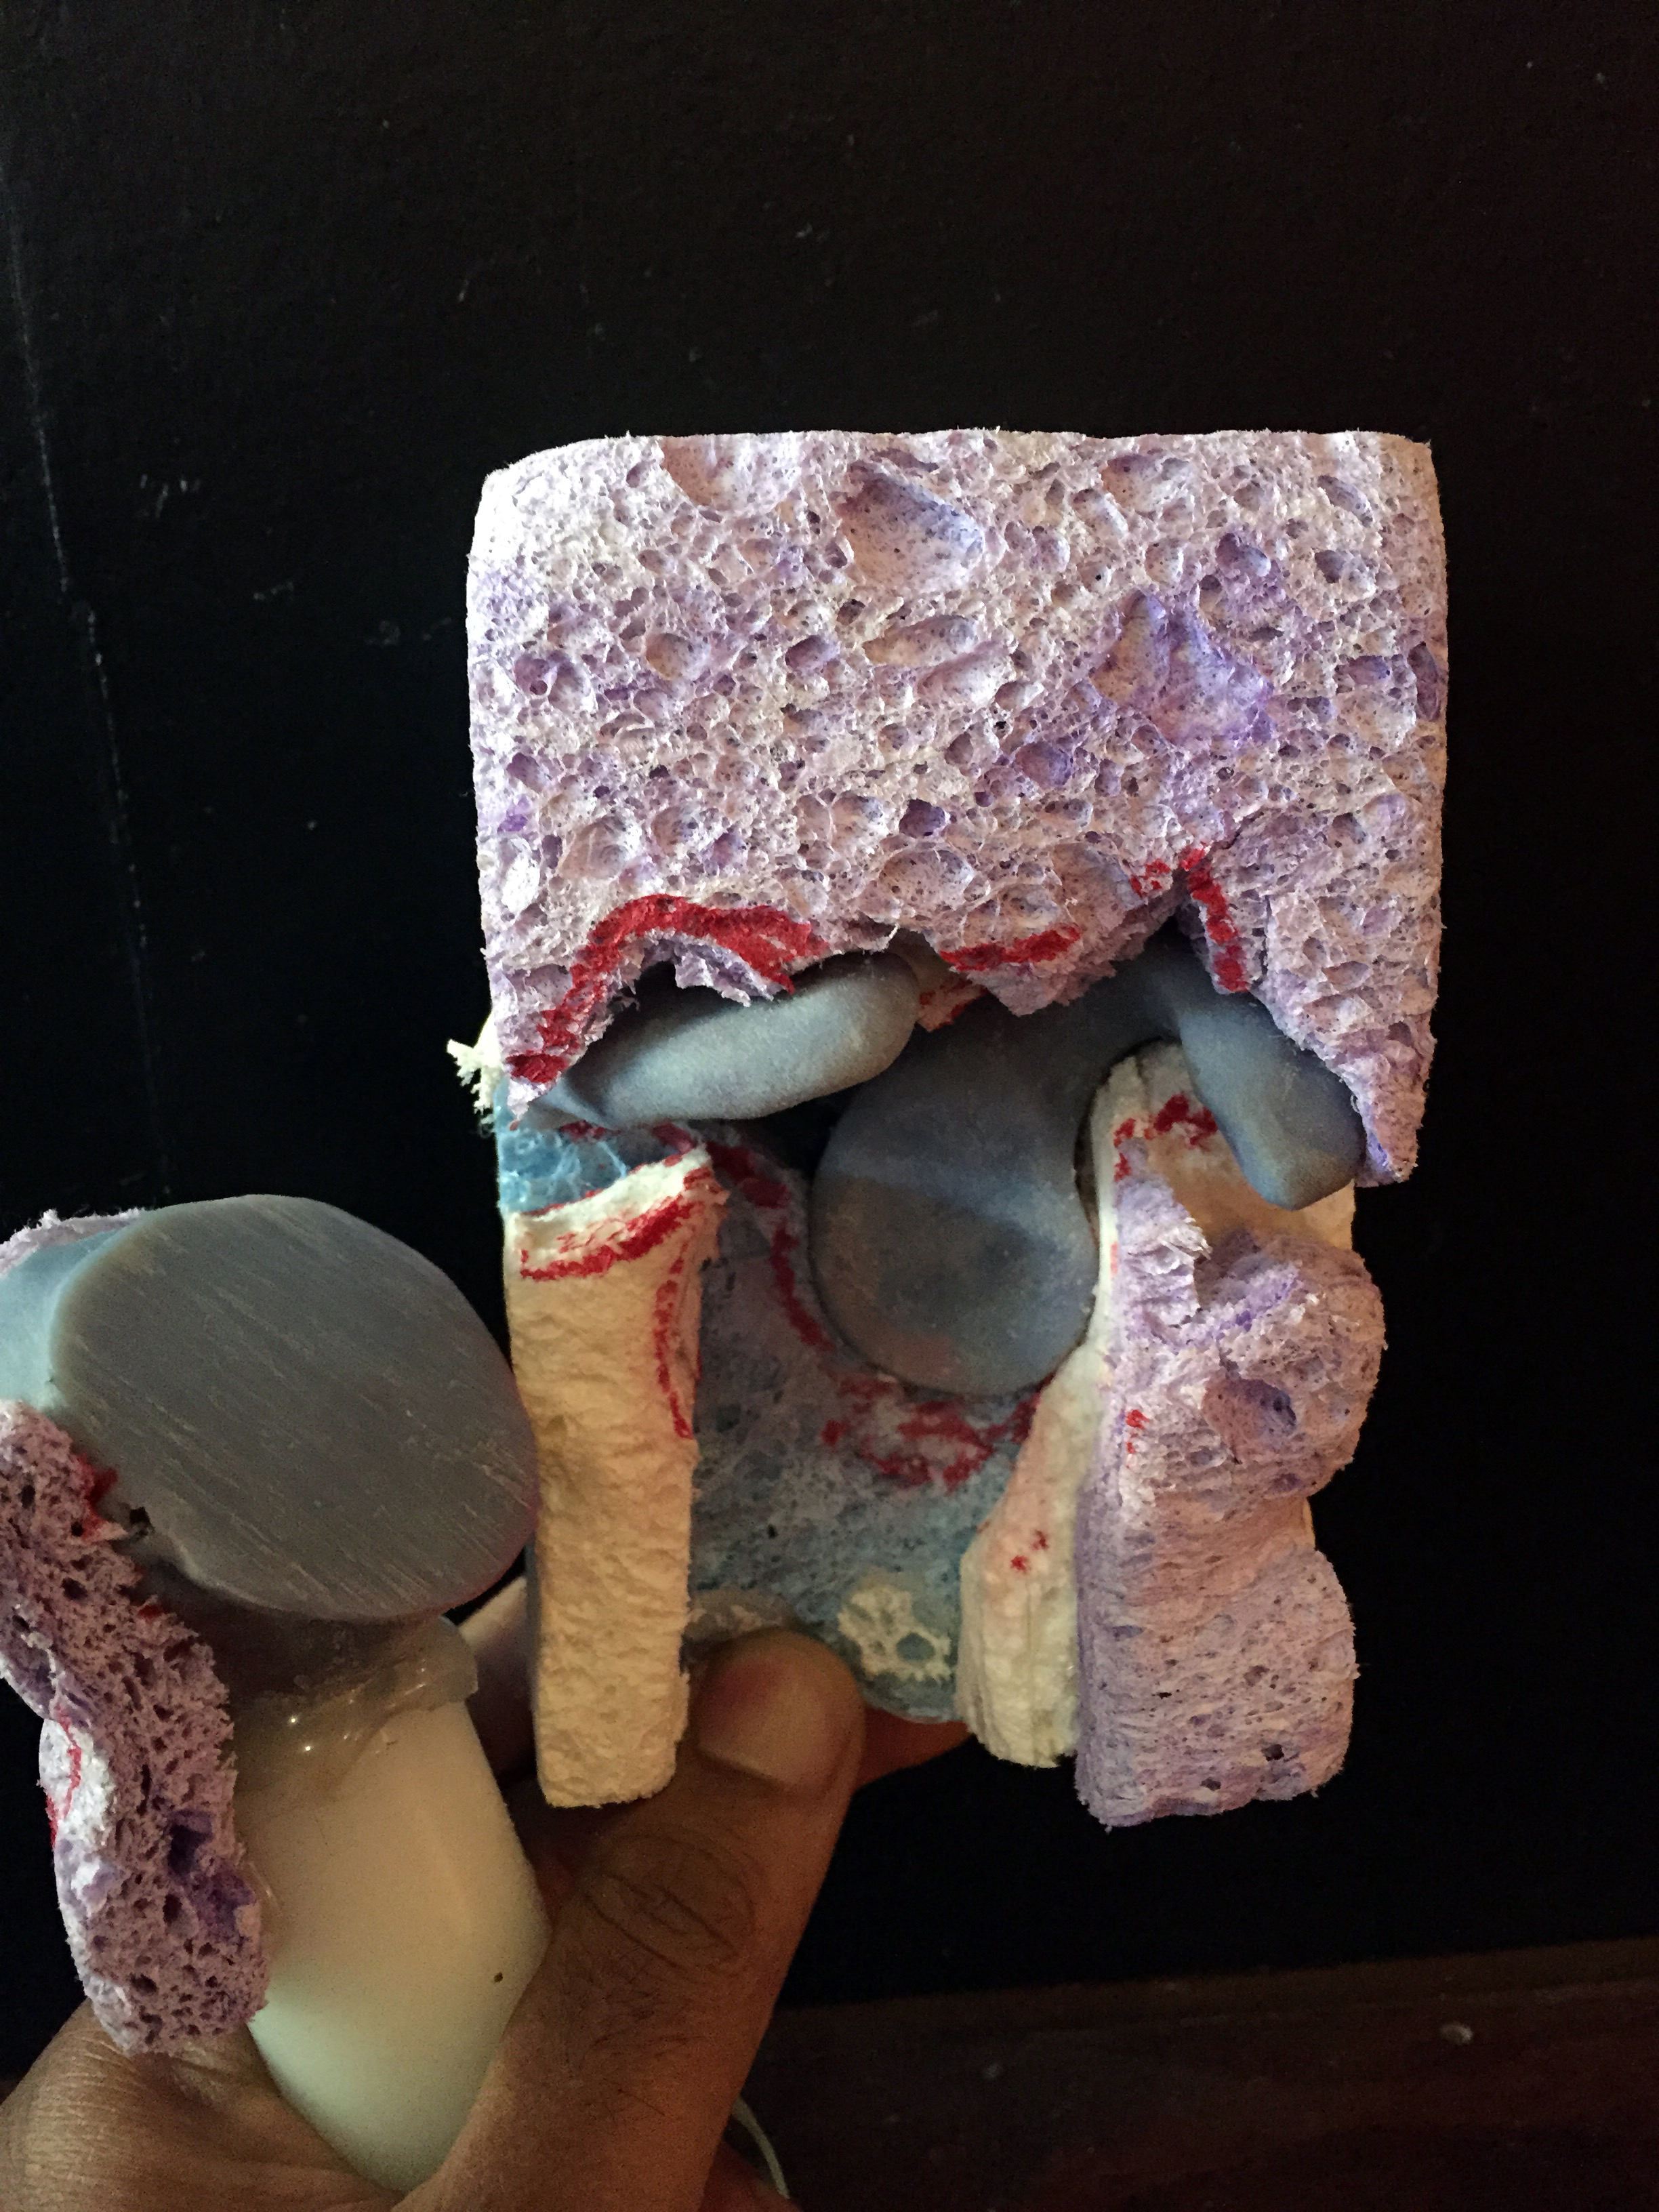
I didn’t find any at the local store but I did find sponges! They were a cheap and easy to cut alternative that did the trick. We cut the appropriate spaces in the sponges and glued the layers together. Rubber bands were used to hold the humerus in place and allowed it to still open up. Lastly, a thin polycarbonate backing was added for overall rigidity of the test structure for handling.
Methods + Machines Used:
Farro Laser Scanner – to create point clouds of the bone models
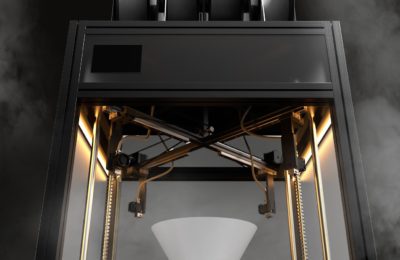
Objet 3D Printer – to create the bone models
MacGyvering – to create the “musculature” of the test structure